How to Design an Exhibition Stand for Product Demonstrations, Sampling and Live Experiences
Live demos, tastings and hands-on product experiences can be some of the most effective ways to pull people onto an exhibition stand. They create energy, give visitors a reason to stop and make it easier for your team to start a conversation. But they also ask a lot more of the stand itself.
6 min read | Custom Exhibition Stands | Exhibition Marketing
If the layout, counters, storage and visitor flow haven’t been properly thought through, the same activation that’s meant to draw people in can quickly start working against you.
That’s where a lot of demo-led stands come unstuck. A tasting counter placed in the wrong spot can create a bottleneck. Product prep can spill into visitor-facing areas. Staff can end up trying to serve, talk and capture leads from the same bench. Instead of making the stand feel engaging and easy to navigate, the live experience starts creating friction.
When demonstrations, sampling or hands-on interaction are part of the brief, they can’t be treated as an add-on. They need to shape the stand design from the beginning. Below are some of the key things we think about when designing exhibition stands built around live experiences, product demos and customer interaction.
Start With What The Live Experience Actually Needs
Before you design the stand, get specific about what the live element really involves.
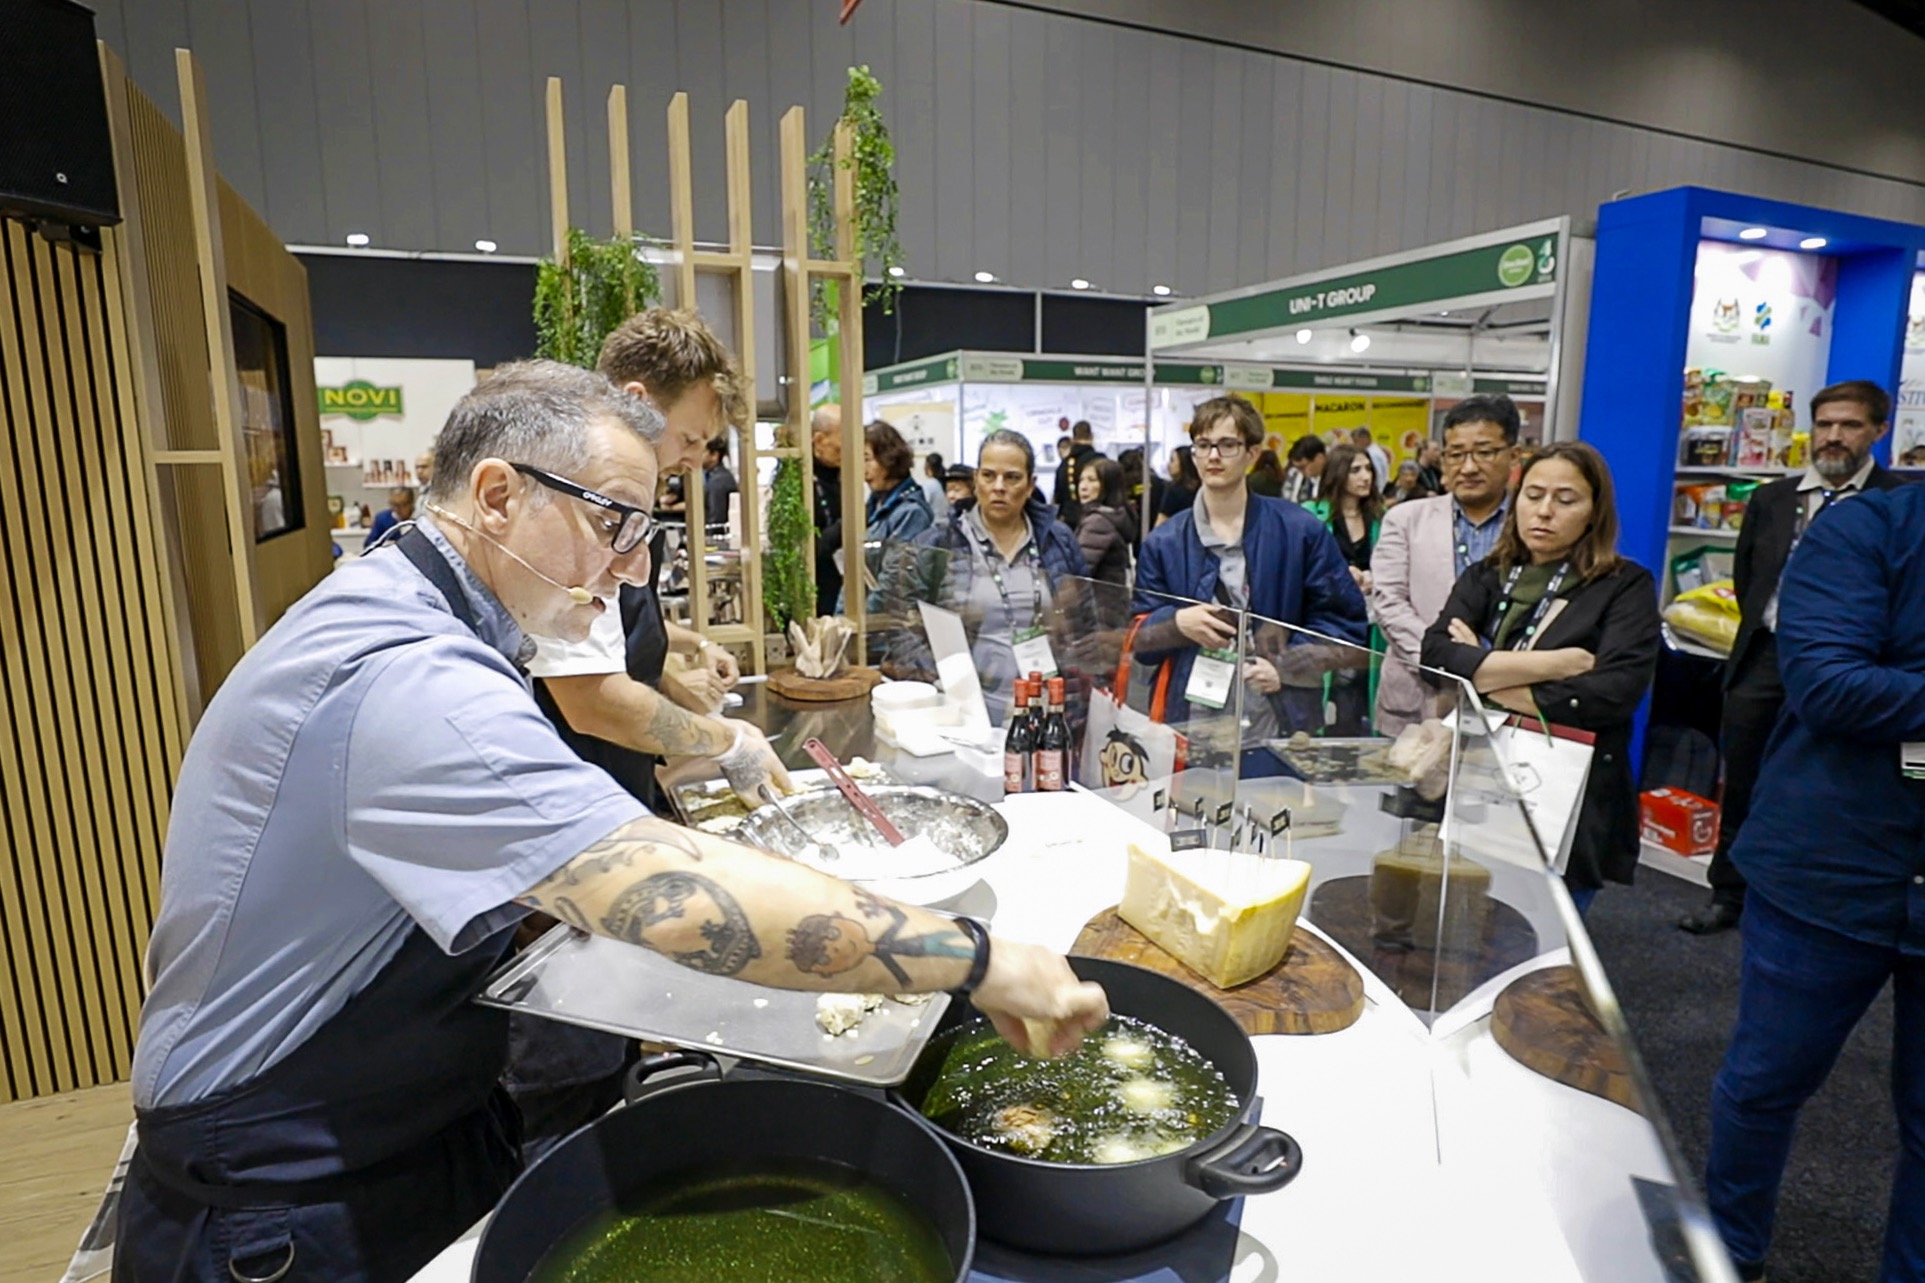
“Product demo” can mean a lot of different things. It might be a coffee machine in use, a food tasting counter, a skincare consultation, a hands-on product trial, a software walkthrough on screen, or a full chef-led cooking demonstration. Each one has different spatial, operational and technical requirements.
That’s why the first question isn’t “Where should the demo go?” It’s “What does this experience actually need to run properly?”
Some of the basics to work through early:
- • How many staff will be involved in the demo or service area?
- • How many people do you expect to gather at once?
- • Will the experience involve food prep, sampling, refrigeration or waste?
- • Do you need sinks, water, power, extraction, AV or specialised equipment?
- • How much stock, consumables or packaging needs to be stored on the stand?
- • Is the goal quick interaction, longer dwell time, or both?
The clearer that operational picture is upfront, the easier it is to design a stand that feels polished on the floor rather than improvised on the day.
If a stand is going to rely on a live experience to attract attention, that experience needs to be treated as core infrastructure, not a styling layer added at the end.
Make The Experience Visible From The Aisle
If a live demo or sampling moment is one of the main reasons people should stop at your stand, it needs to be visible.
That sounds simple, but it’s easy to get wrong. The demo counter might be pushed too far back into the footprint, or in other cases, a large feature wall or bulkhead blocks sightlines. Sometimes the stand looks great from the front, but the live element itself disappears once a few people gather around it.
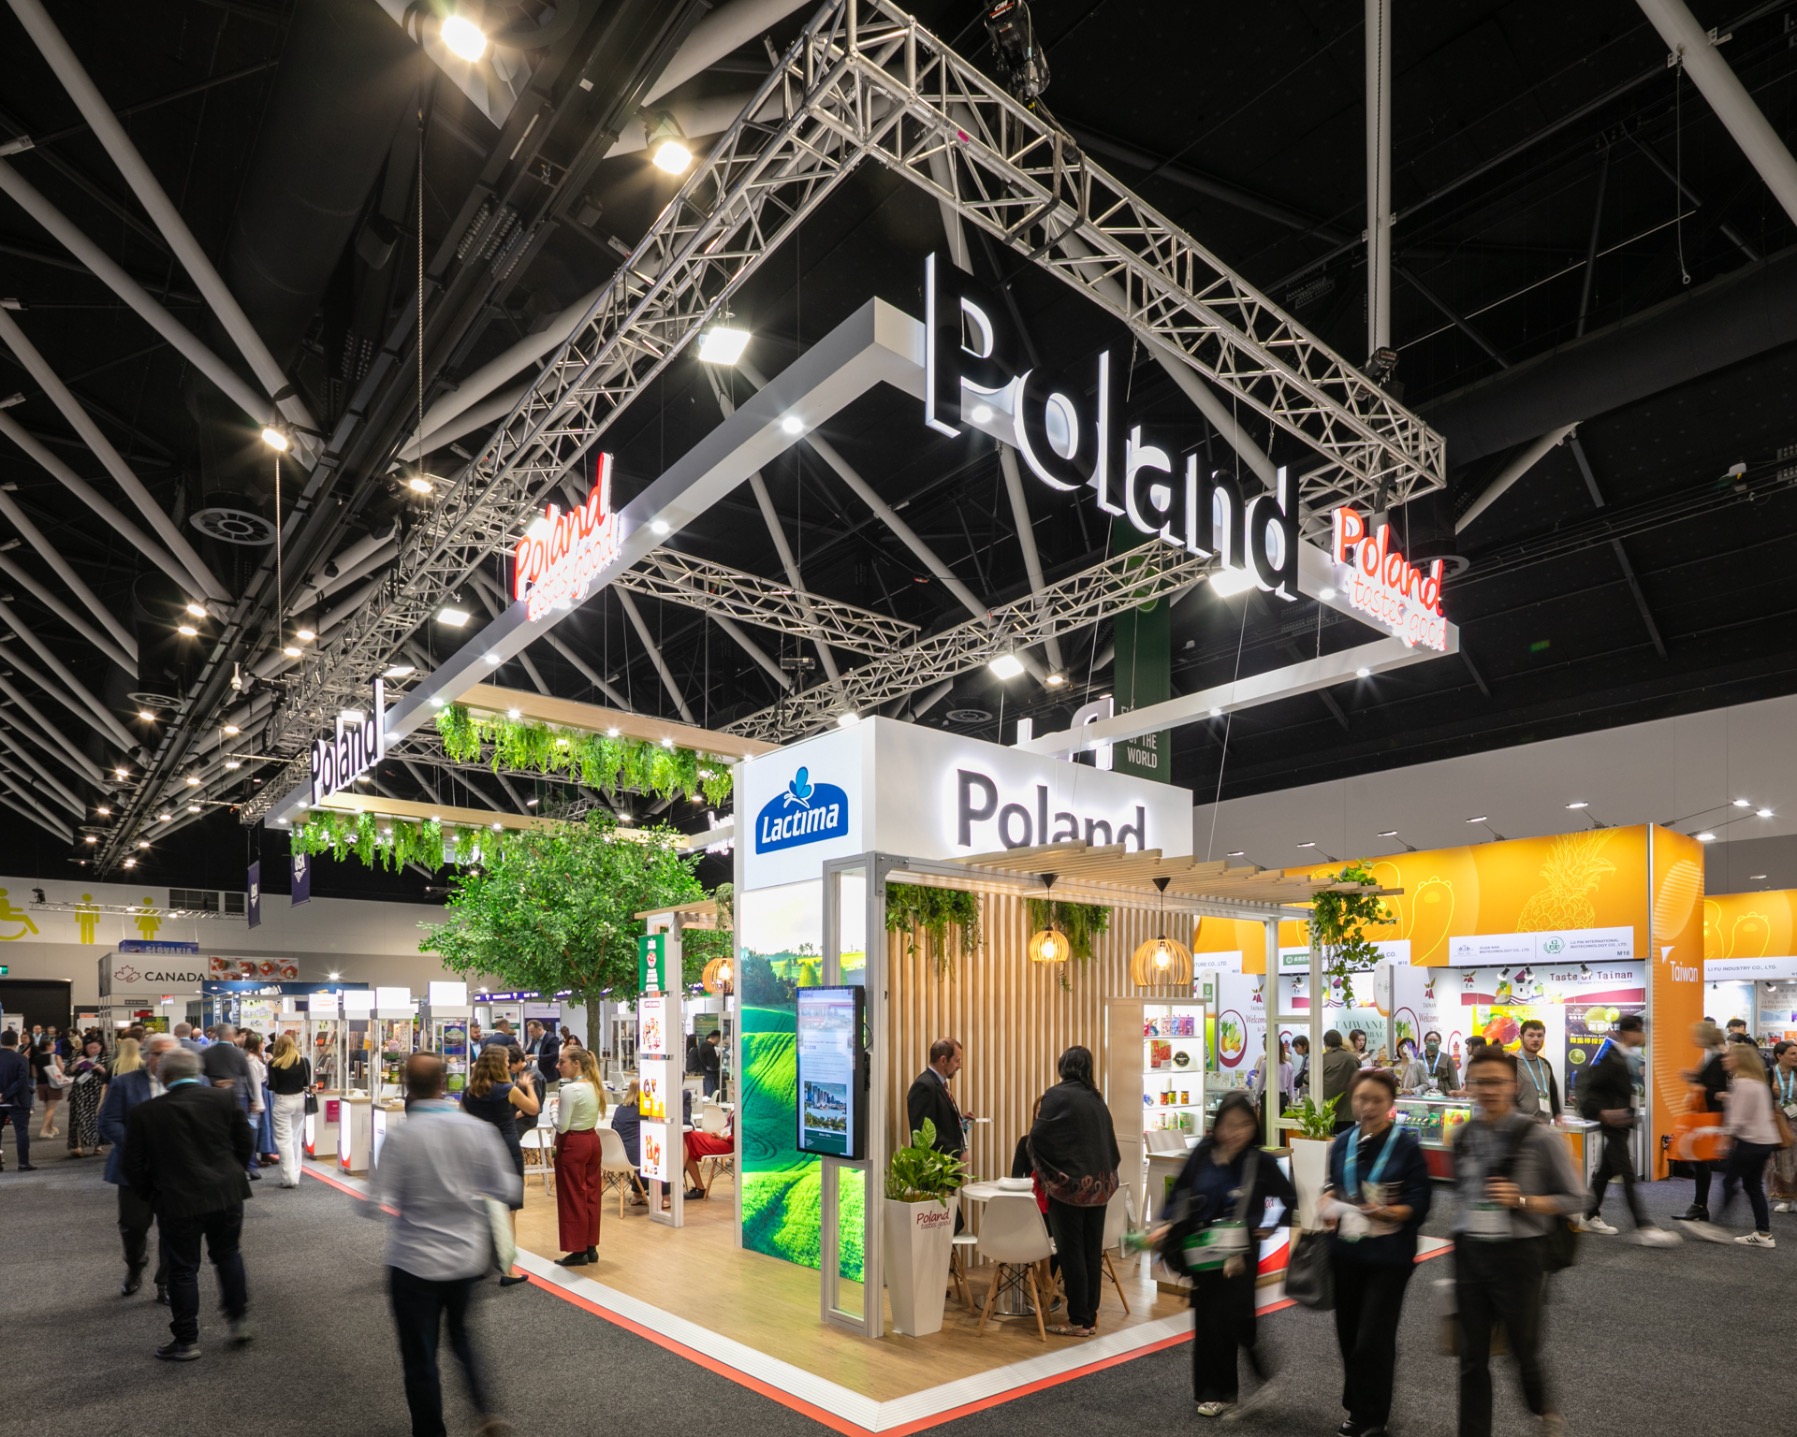
The best demo-led stands make the experience legible from the aisle. Visitors should be able to understand, at a glance, that something is happening and where to look.
That doesn’t mean putting everything right on the front edge of the stand. In fact, if the live activity sits too close to the aisle, it can create congestion and make the whole space feel frantic. But the experience does need to be visually prominent enough to act as a drawcard.
A few practical ways to do that:
- • Position demo or tasting counters where they can be seen from key approach angles
- • Use lighting, signage or overhead branding to frame the experience
- • Keep surrounding display elements low enough that they don’t block sightlines
- • Use digital screens or supporting graphics to reinforce what’s happening
If the live moment is the hook, people need to be able to read it quickly. Otherwise, you’re relying on the team to explain something the stand should already be helping communicate.
Plan For People To Gather Without Blocking The Stand
One of the biggest mistakes in demo-led exhibition stand design is assuming people will politely watch, interact and move on in a neat little line.
They won’t.
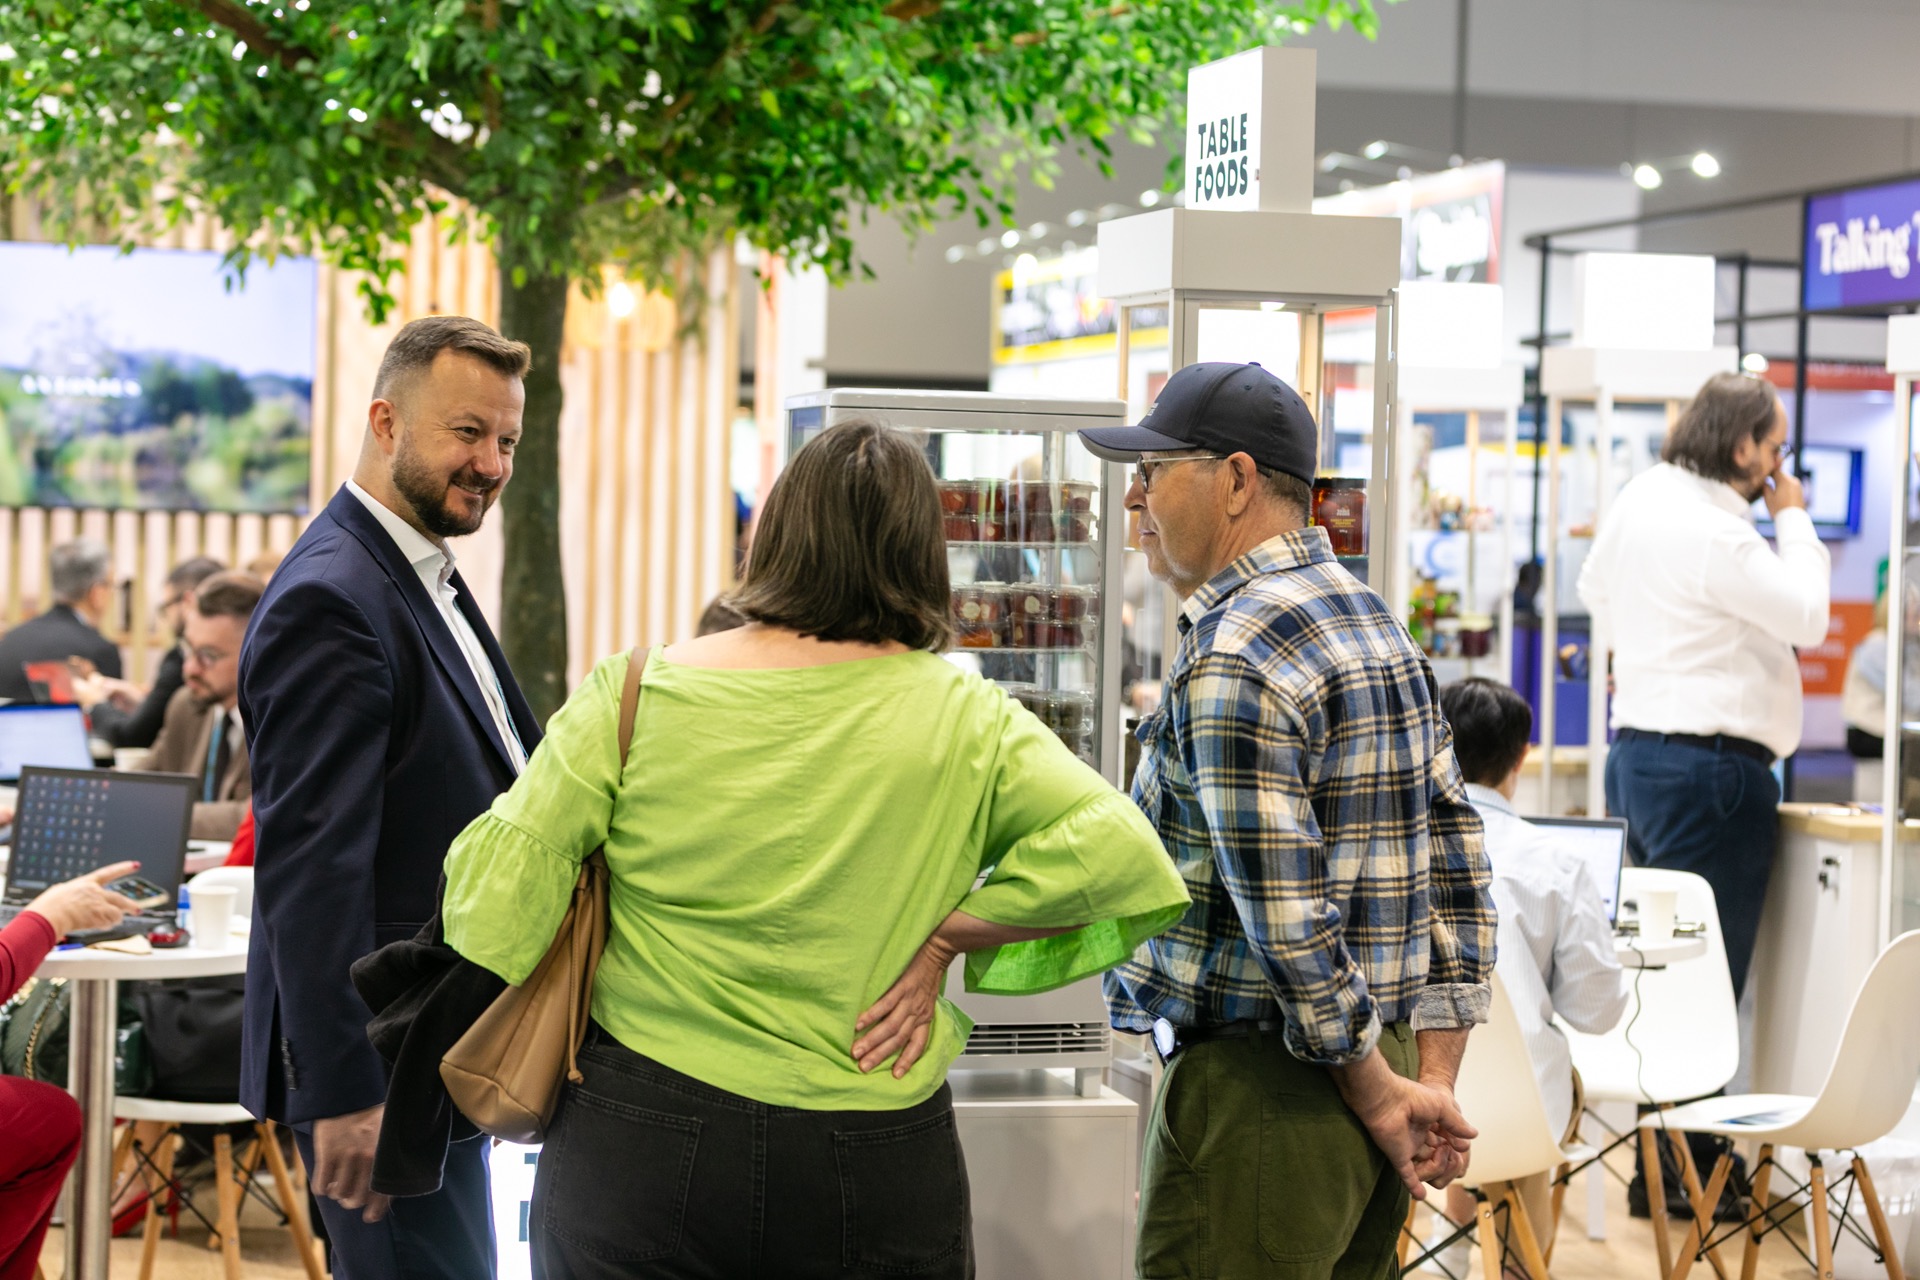
If a live experience is doing its job, people will cluster. Some visitors will stop briefly, others will hang back and watch before deciding whether to step closer. A few will want to ask questions immediately, while others will wait for a sample or try to catch the eye of the staff member running the demo.
That means you need to think about crowd behaviour, not just footprint size.
If there’s no room for people to gather, the demo area can quickly start blocking the very thing it’s supposed to support. It clogs the entry point, cuts off access to the rest of the stand and creates pressure on staff who are trying to manage service and conversation at the same time. We see this a lot when a tasting counter or coffee machine is placed right on the front corner of the stand without enough space around it. It looks great in a render. Once the show opens, that same corner becomes a bottleneck.
A better approach is to design a little breathing room around the live element:
- • Allow space for a small audience to gather without standing in the main walkway
- • Keep a clear path into the rest of the stand
- • Avoid placing meeting tables or fixed furniture directly beside a high-traffic demo zone
- • Think about where someone can pause and watch before deciding whether to engage
This matters just as much on a 3×3 as it does on a large island stand. The footprint may be smaller, but the need for flow doesn’t go away.
Separate The “Show” From The Support Zone
A live experience always has a front-of-house side and a back-of-house side.
Visitors see the tasting counter, coffee machine, chef demo, sampling moment or product trial. What they don’t see is the stock, spare cups, cleaning supplies, rubbish, extra product, staff bags, personal items, equipment cases and all the other things that make the experience possible.
Or at least, they shouldn’t.
One of the quickest ways to make a premium exhibition stand feel messy is to underestimate how much support material sits behind a live experience. If there’s nowhere for it to go, it ends up on the front counter, under stools, behind screens or piled in corners. Suddenly the stand still looks good from ten metres away, but up close it feels chaotic.
This is where good operational planning makes a huge difference.
Depending on the project, that might mean:
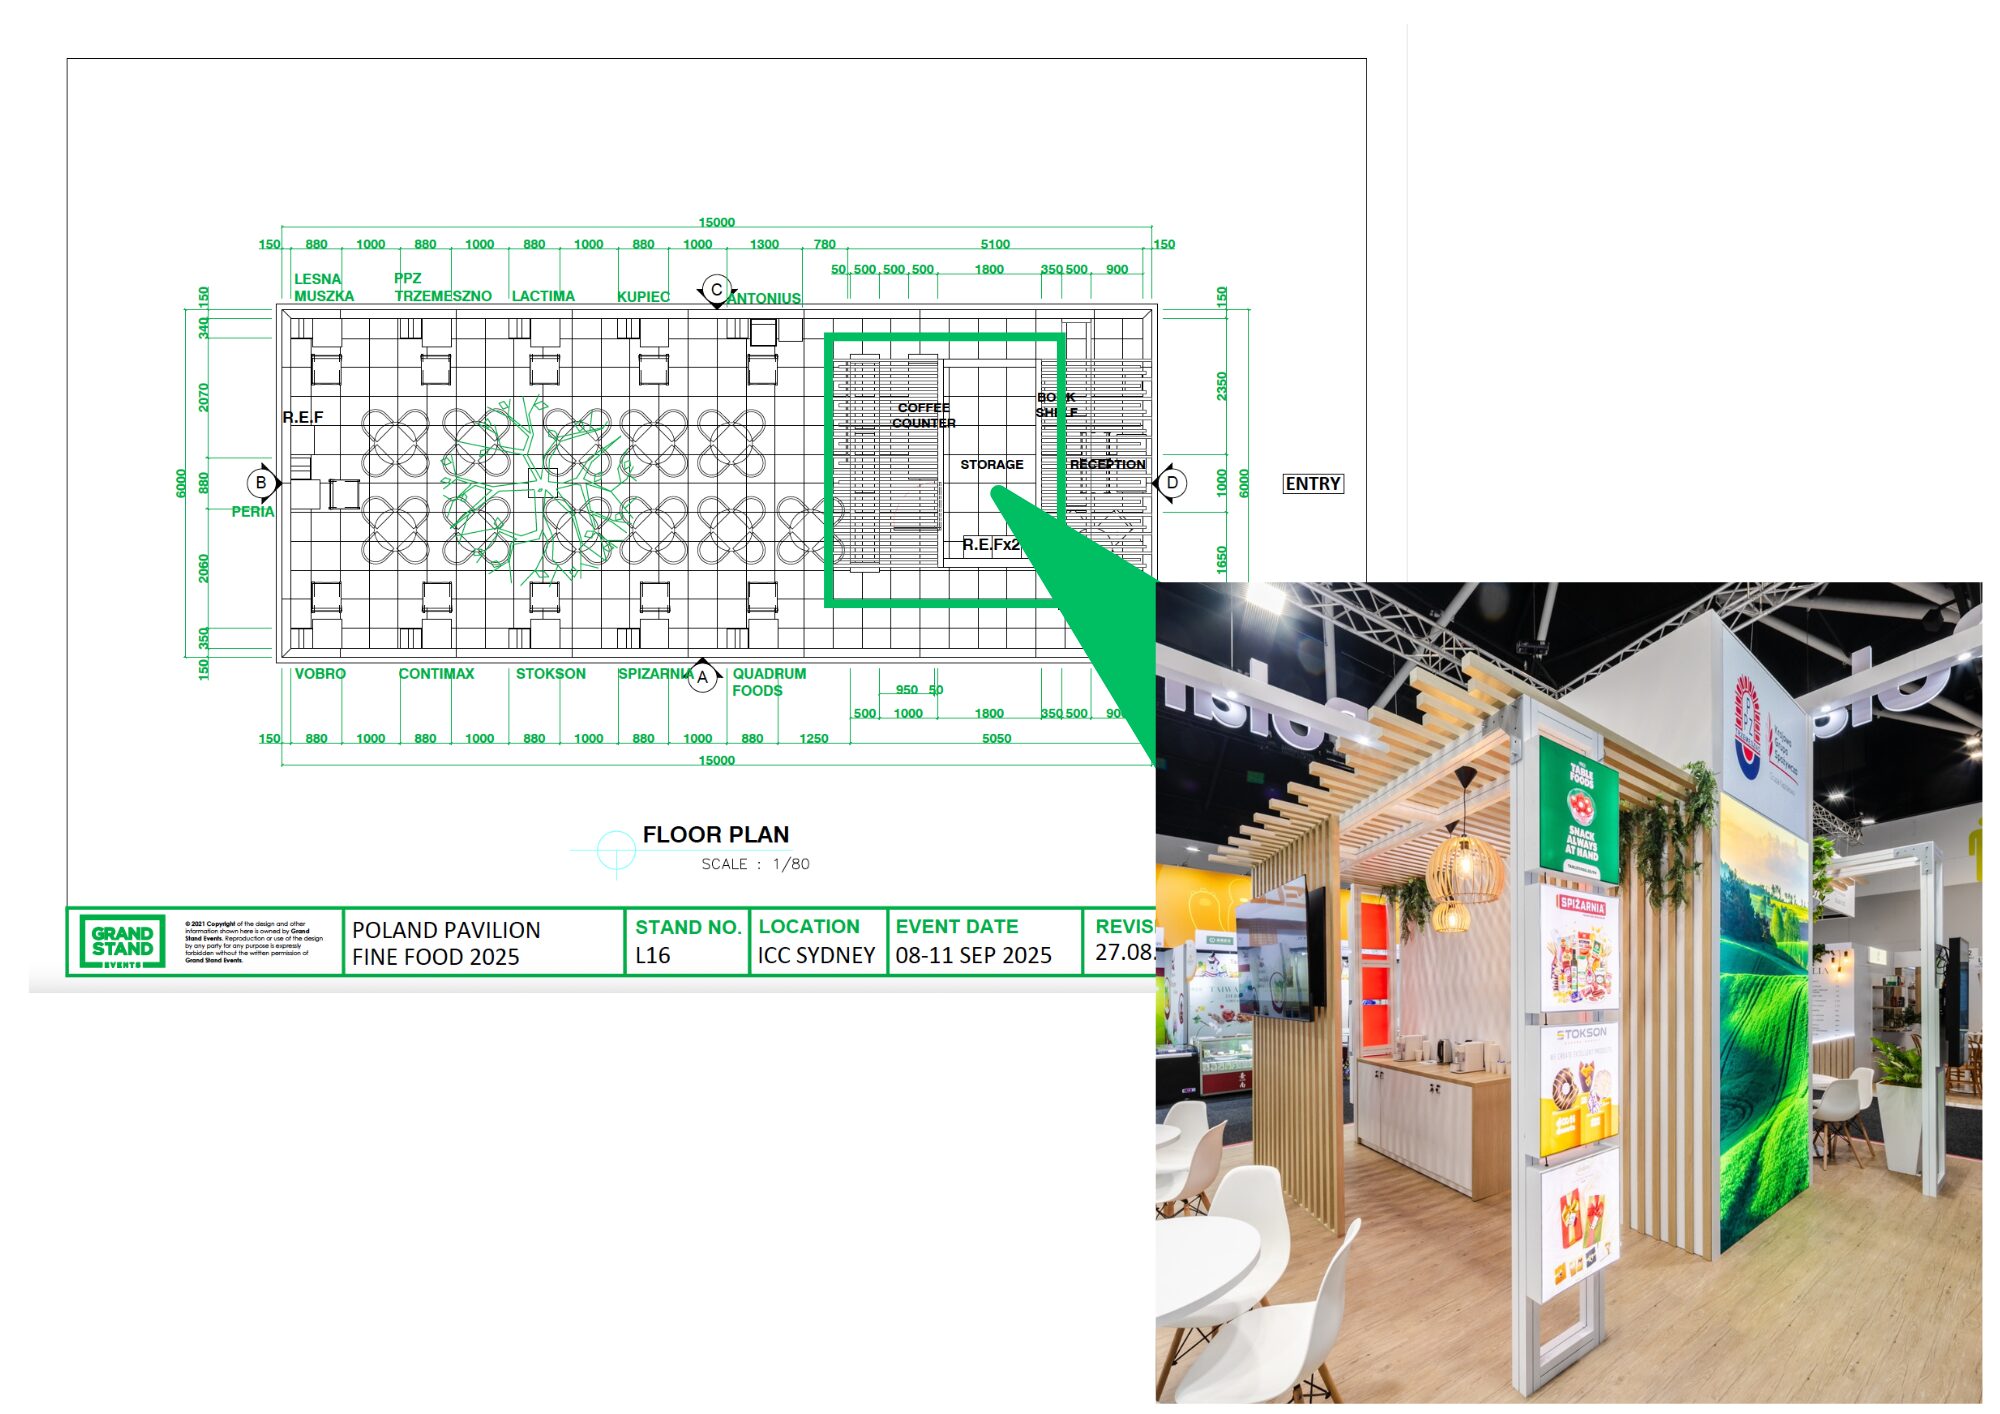
- • Concealed under-counter storage
- • A lockable back-of-house cupboard or storeroom
- • Dedicated refrigeration or stock storage zones
- • Waste and cleaning supplies hidden within joinery
- • A rear prep bench tucked behind the main demo counter
On food and beverage stands especially, this matters fast. Empty cartons, spare stock, milk, ice, sample cups, napkins, rubbish and cleaning products all need a home. If they don’t have one, they end up visible to visitors within the first hour of the show.
The goal is simple. Keep the visitor-facing part of the experience clean, calm and on-brand, while giving the team enough operational support to actually run it well.
Don’t Let The Demo Area Swallow The Whole Stand
A live experience might be the hero, but it usually isn’t the whole story.
Most exhibitors still need room for broader product display, meetings, lead capture, brand messaging and general visitor flow. If the demo or sampling zone takes over the entire footprint, the stand can end up feeling one-dimensional. Great for spectacle, less useful for actual business development.
That’s where zoning becomes important.
A strong demo-led stand still needs to support different types of interaction:
- • A quick first-stop moment for people passing by
- • A clear live demo or tasting zone
- • Somewhere for a deeper conversation to happen
- • Space for products, collateral or digital content that adds context to the offer
The right balance depends on the brand and the event, but the principle stays the same. The live experience should draw people in, not crowd out everything else you need the stand to do.
This becomes even more important when the demo zone is noisy, service-heavy or naturally attracts a crowd. A chef demonstration, coffee service point or tasting station can generate great energy, but if it’s the only thing the stand is built around, the rest of the commercial conversation gets squeezed out.
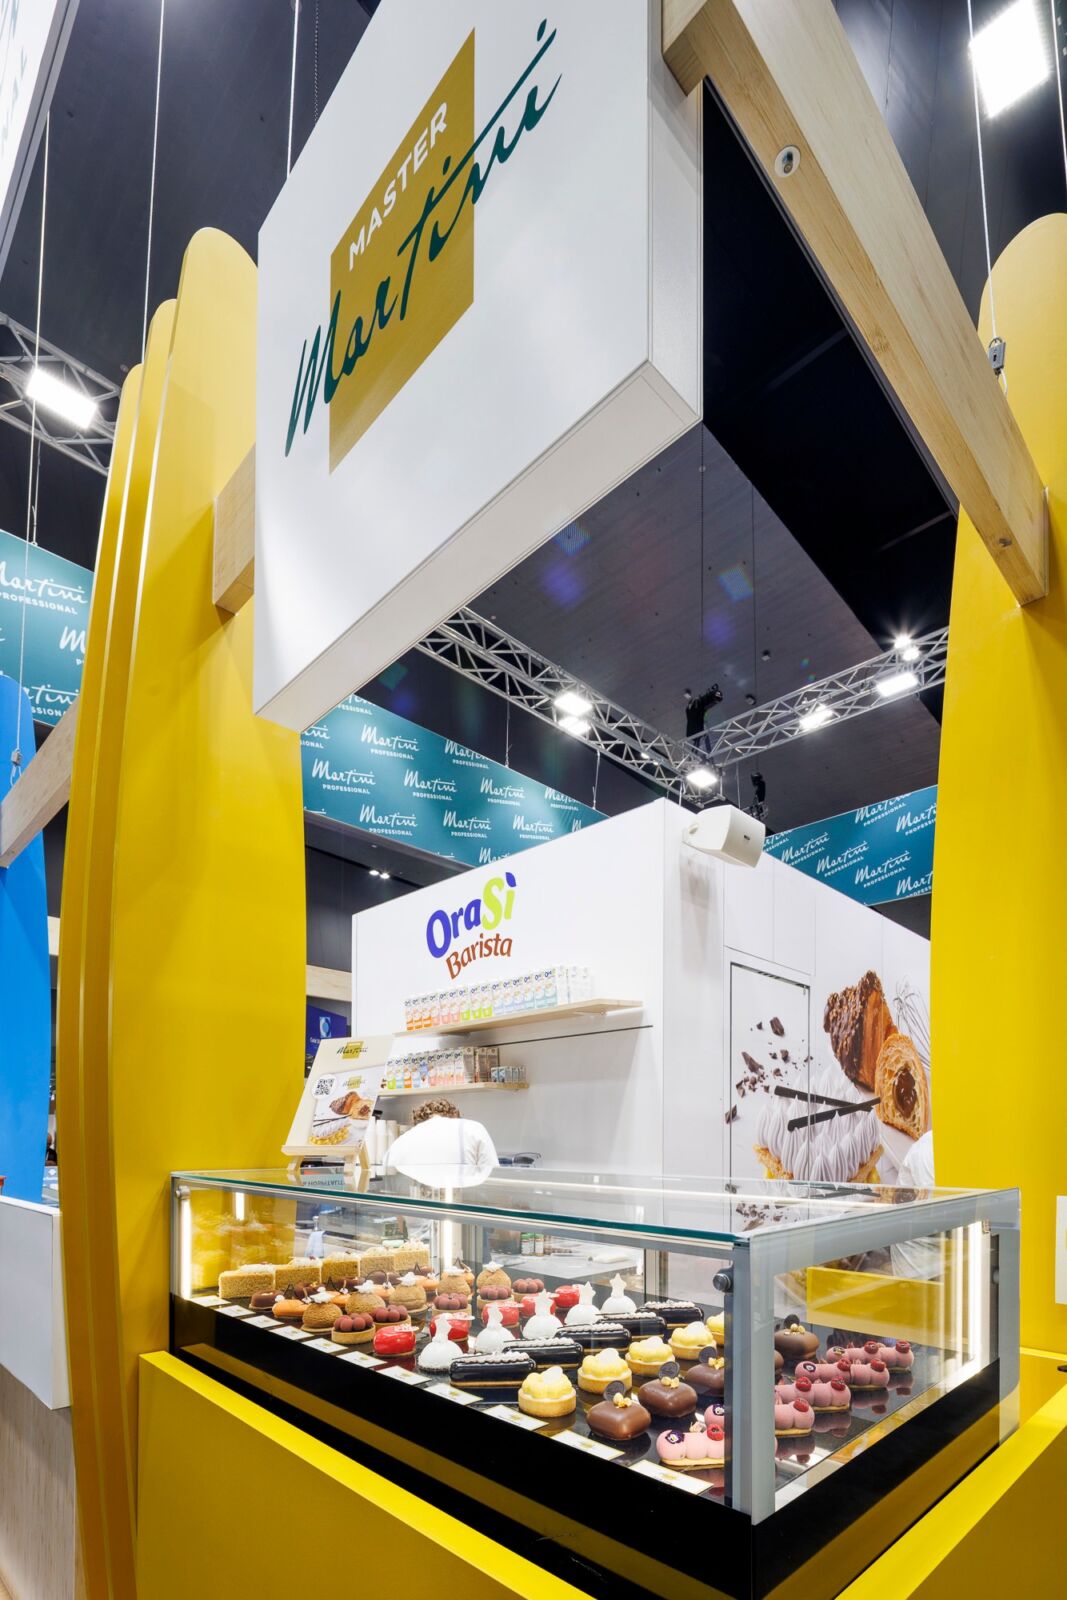
Design The Counter Around How It Will Actually Be Used
Counters do a lot of heavy lifting on demo-led stands.
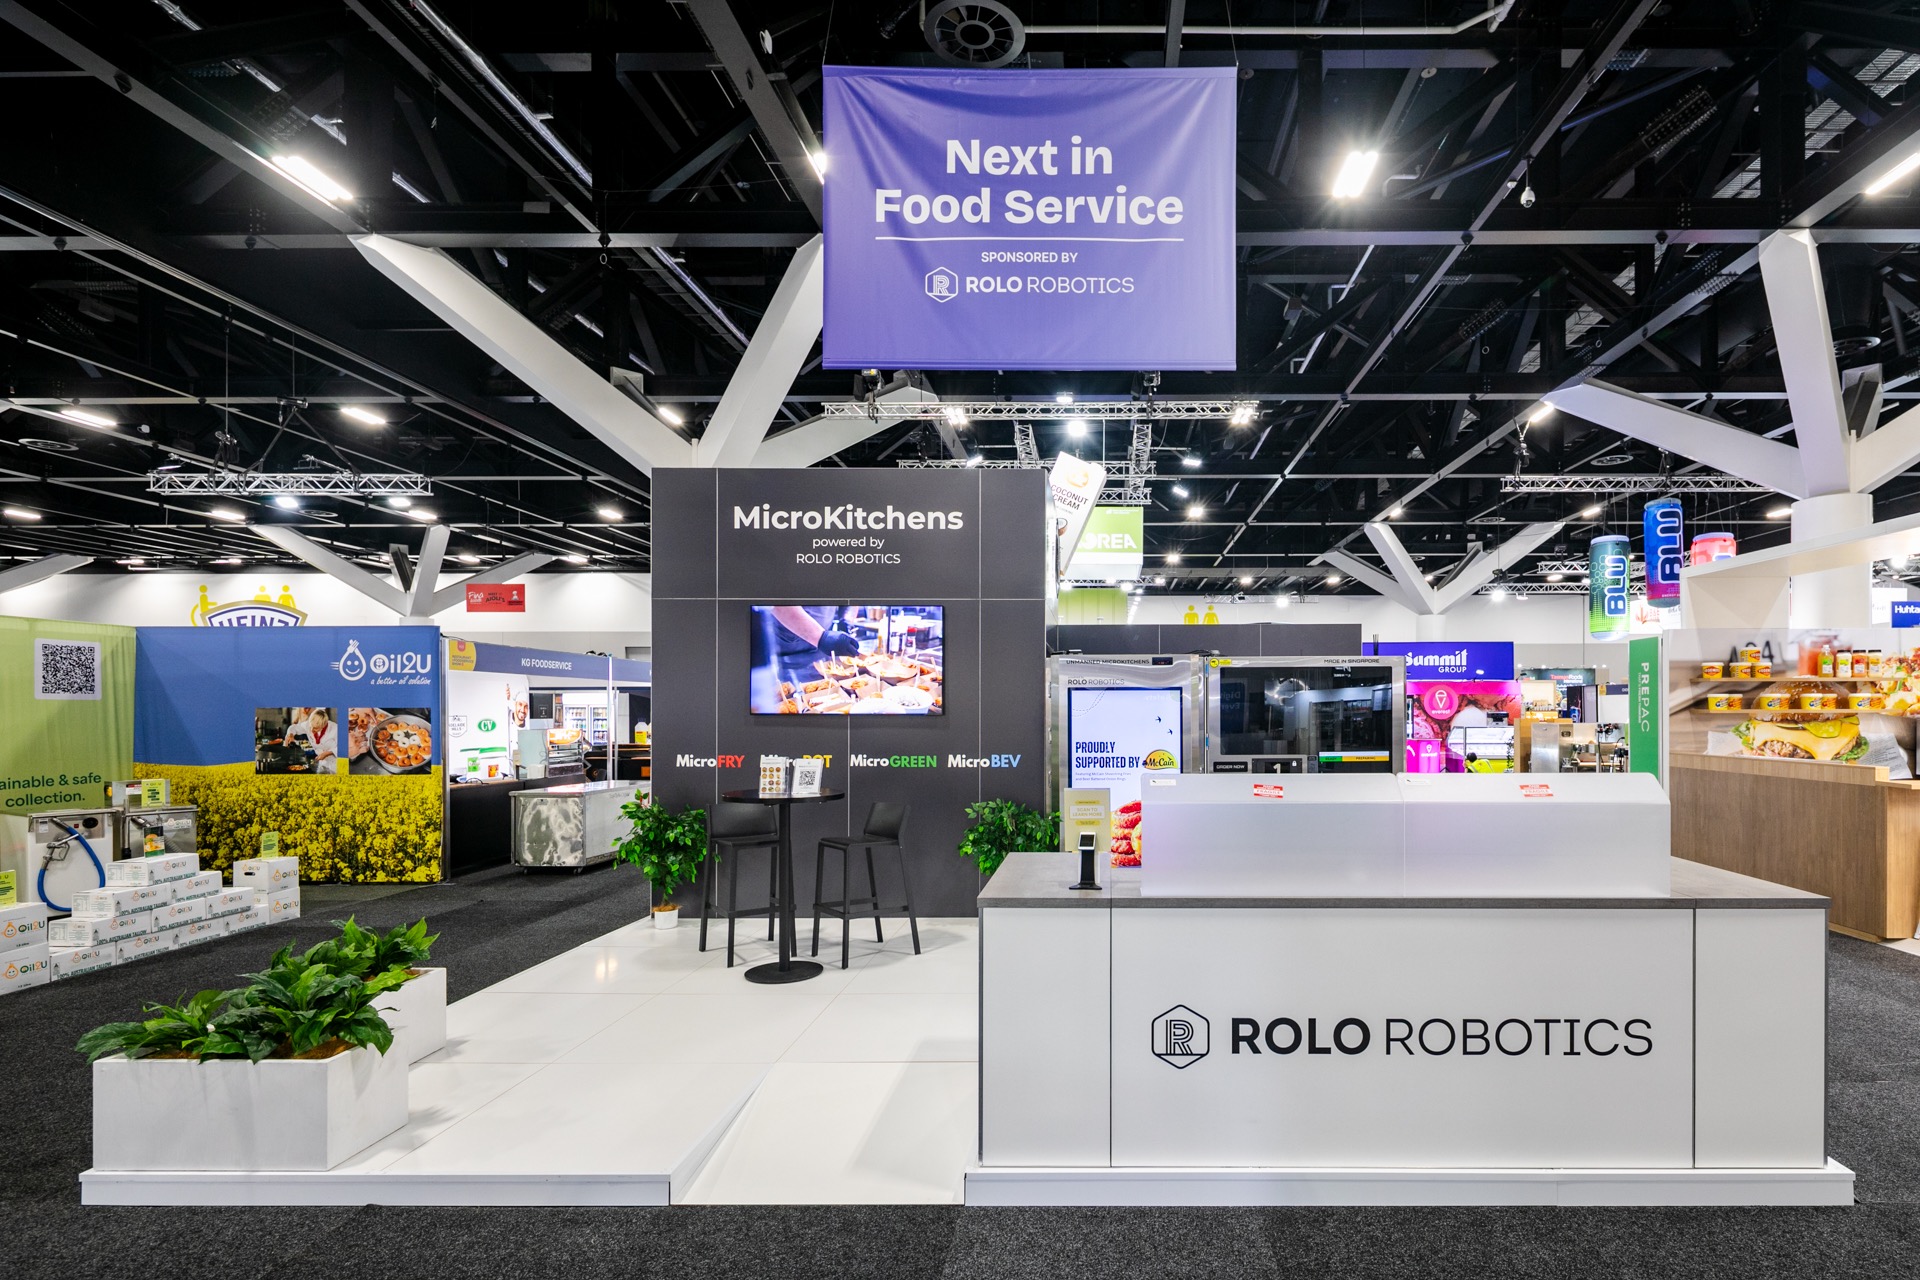
They can be a service point, a product display surface, a tasting bench, a place for equipment, a brand feature, a storage unit and a conversation point all at once. That’s exactly why they need more thought than simply dropping a branded counter onto the floor plan.
A good demo counter should be designed around what’s happening on it and behind it.
Questions worth asking:
- • How many staff need to work from it at once?
- • Will visitors stand on one side, or gather around multiple sides?
- • What equipment needs to sit on the benchtop?
- • Does the counter need refrigeration, power access, shelving or concealed waste?
- • Will the team be serving, prepping, talking and taking leads from the same spot?
These details affect everything from the counter depth and height to where storage goes and how easily staff can move.
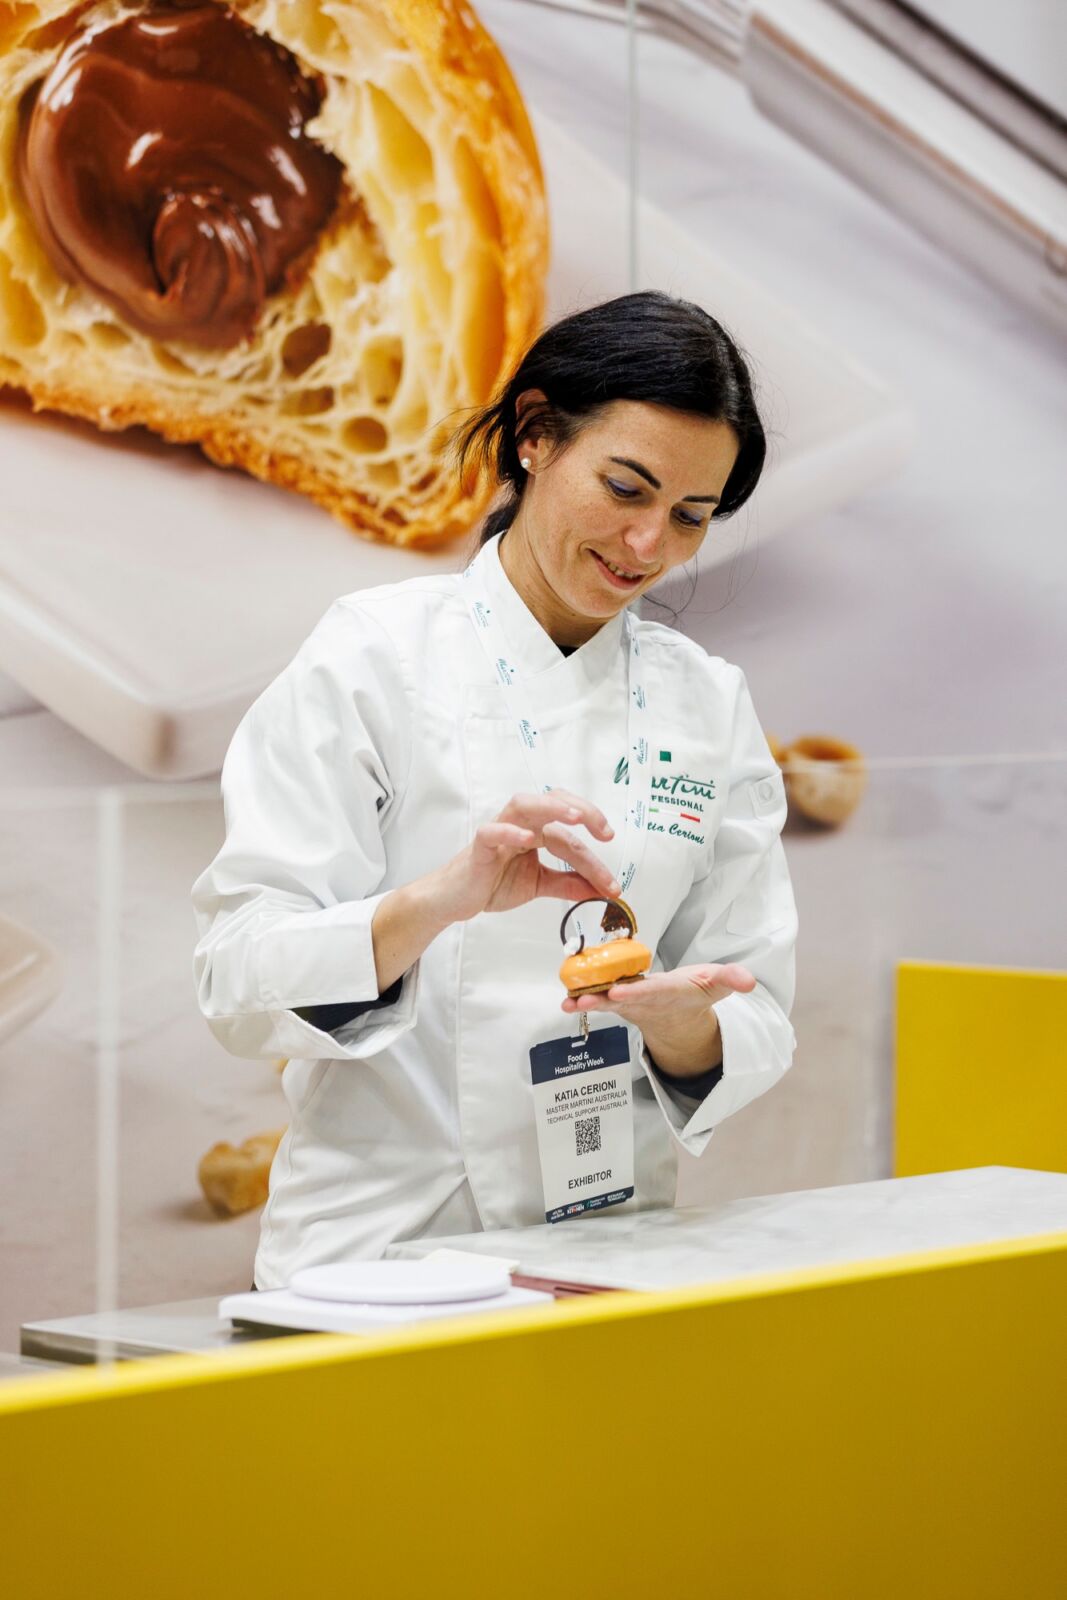
A coffee stand is a good example. It’s not just about making room for the machine. You also need to think about milk, cups, waste, underbench storage, workflow around the operator, where visitors stand while they wait, and whether there’s still room for a conversation to happen without someone leaning across the grinder. The same logic applies to food sampling, beauty consultations, product testing or any stand where the bench is doing more than one job.
The counter needs to function as working infrastructure, not just a branded object.
Think Through Services And Technical Requirements Early
Live experiences tend to bring more technical complexity with them than a standard exhibition stand.
That might include:
- • Power for coffee machines, blenders, screens or product demos
- • Refrigeration for samples or ingredients
- • Water access and waste management
- • AV for tutorials, demonstrations or supporting content
- • Specialist equipment with clearance or ventilation requirements
- • Extra cleaning, safety or compliance considerations
If these requirements are treated as an afterthought, they start dictating the stand instead of supporting it. Suddenly the fridge is in the wrong place, the cable run is visible, the coffee machine has ended up jammed into the only conversation zone, or the team is carrying stock across the stand because the back-of-house area wasn’t planned properly.
We’ve seen beautiful-looking concepts become much harder to execute because no one resolved where the equipment was actually going, how it would be powered, or what needed to happen behind the scenes to support it.
The more live functionality a stand has, the more important it is to design around those technical requirements from the beginning. It almost always leads to a cleaner, calmer and more effective result.
Use The Live Experience To Start Conversations, Not Replace Them
A strong demo or sampling moment can be a great traffic driver, but on its own it’s not the outcome.
The point of the live experience is to create an opening. It gives people a reason to stop, something to ask about, and a natural way for your team to begin the conversation. That’s where the real value sits.
If visitors take a sample, watch a demonstration or try the product and then walk off without any meaningful interaction, the stand has only done half its job.
That’s why the best demo-led stands are designed to support what happens immediately after the interaction:
- • Is there room to continue the conversation without standing in the queue?
- • Can your team capture details naturally after a tasting, trial or demo?
- • Is there somewhere to move someone who wants a deeper conversation?
- • Are supporting products, brochures or screens positioned to help answer the next question?
This is where layout matters more than people think. If the only place a conversation can happen is right at the tasting counter, staff end up trying to serve, answer questions and qualify leads all in the same spot. That’s when interactions start feeling rushed and the stand loses momentum.
A better setup gives the team somewhere to take the next step. That might be a nearby high table, a quieter meeting corner, a consultation point, or simply a second interaction zone just off the main demo area where the conversation can continue without holding up the experience for everyone else.
The live moment gets people in. The stand still needs to help turn that attention into something useful.
Final Thoughts
Product demonstrations, sampling and live experiences can be some of the most effective tools on an exhibition stand, but only when the space is designed to support them properly.
If the experience is treated as a bolt-on, it tends to create friction. If it’s considered as part of the stand strategy from the beginning, it becomes a much stronger commercial tool. It attracts attention, creates interaction, gives your team something to work with and helps turn a passing visitor into a real conversation.
That’s the difference between a stand that simply looks lively and one that actually performs.
At Grand Stand Events, we design and build exhibition stands around how they’ll function in the real world, not just how they’ll look in a render. That means thinking through the live experience itself, the staff using the space, the visitors stepping into it, and all of the operational detail needed to make the stand work under pressure.
If you’re planning a stand with product demonstrations, sampling or live engagement at the centre of it, we’d be happy to help you think through the layout, flow and practical requirements before design starts.
Talk to Grand Stand Events about your next exhibition stand.
BRANDS WE’VE MADE STAND OUT